In Techno, the kick drum isn't just an element. It's the foundation. The heartbeat. The driving force that makes everything work.
You build a killer kick. Clean, punchy, sitting perfectly in your mix. Then you add your bassline.
And suddenly, the kick sounds weak. Inconsistent. Like someone's riding the volume fader up and down randomly.
You're not imagining it. Something invisible is happening in your mix that's literally deleting your kick drum every time it plays with your bass.
There are different ways to fix this. Sidechain compression is the classic approach. Some producers boost transients with exciters. Others carve space with surgical EQ.
But I found a method that's faster, more precise, and actually lets you see what's happening instead of guessing with your ears alone.
This is my favorite way to fix it.
What's Actually Killing Your Kick (The Physics): The problem is called destructive interference, and it's a fundamental law of physics.
Here's what happens: when two sound waves meet, they don't just blend together. They interact based on their phase relationship.
Phase describes where a wave is in its cycle at any given moment. When two waves are perfectly aligned — both at their peak at the same time — they reinforce each other. This is called constructive interference. You get more volume, more energy.
But when two waves are 180 degrees out of phase — one wave is at its peak while the other is at its valley — something brutal happens.
They cancel each other out completely.
It's like telling a speaker to push out and pull in at the exact same moment. The conflicting instructions cancel. The amplitude drops to zero. The sound disappears.
This is how noise-cancelling headphones work. They play a sound with the opposite phase of the incoming noise, and the two waves cancel each other out.
Now imagine this happening between your kick and your bassline.
Why Kick and Bass Always Fight: Your kick drum's fundamental frequency typically sits somewhere between 40-100 Hz. Your bassline? Same range.
When both elements try to occupy the same frequency space at the same time, their waveforms interact. And if they're out of phase — which happens naturally when you layer sounds without thinking about it — you get destructive interference.
The result?
Every time your kick hits, it sounds different depending on where your bassline's waveform is at that exact moment. Some kicks punch through. Others get partially or completely cancelled. Your low end starts "breathing" and wobbling in ways you never intended.
In German we call it "Eiern" — like your kick is unstable, wandering, inconsistent.
You want the opposite. A straight, solid punch. Same level, same weight, every single hit.
The Old Way: Sidechain Compression: The traditional solution is sidechain compression. You put a glue compressor on your bass channel, key it to your kick, and dial in attack and release times.
It works. Thousands of producers use it every day. But it's clunky.
You're playing this endless game with milliseconds. Too fast and you get clicking artifacts. Too slow and you lose the punch. You're adjusting numbers blindly, trying to hear what's happening in a frequency range that's hard to perceive accurately.
Even when you get it sounding okay, you're never quite sure if it's right. You're guessing.
Here's what changed my workflow completely.
The New Way: Visual Phase Control: The tool is called Ducker, made by GM Audio — a one-person developer in Australia making incredibly technical Max for Live devices.
Before I featured it on the channel, I hopped on a call with him because I always want to know who I'm supporting. He is super excited and nerdy about the details like we all are.
Here's what makes Ducker different from traditional sidechain compression:
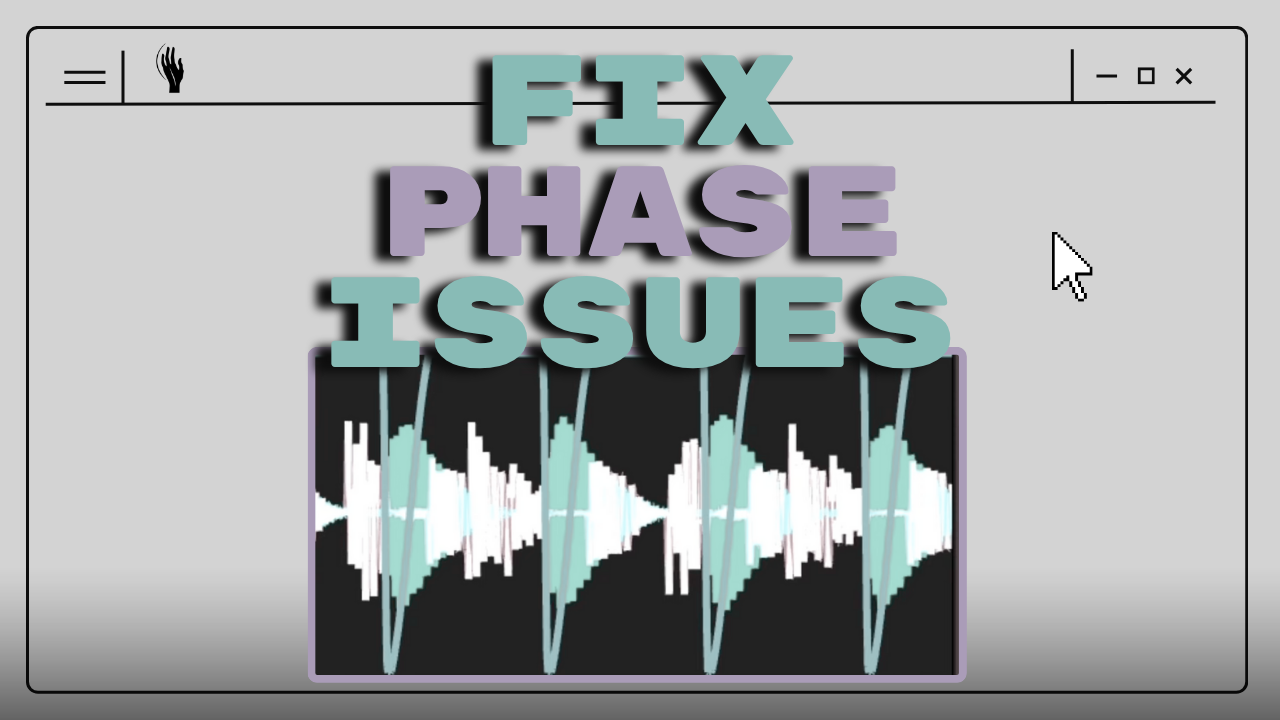
You load it on your bass channel. You key it to your kick. And instantly, you see a beautiful real-time analyzer showing you exactly what's happening.
Green waveform for your kick. White waveform for your bass.
You can literally watch the phase relationship. You can see where your kick transient hits. You can dial in hold and release times while watching the waveforms interact. You can even freeze the display and zoom in to study the exact moment of interaction.
But here's the magic trick: there's one button called "Invert."
You click it once.
Your kick doesn't get louder on the meters. Your bass level doesn't change. But suddenly, it feels 3dB louder. The punch comes back instantly.
Why?
Because you've flipped the phase relationship by 180 degrees. Instead of destructive interference — where your kick and bass cancel each other — you now have constructive interference. They reinforce each other.
It's instant. It's visual. It's precise.
Why This Feels Like Magic (But Isn't): The first time I used an invert button, it blew my mind. The kick came back with full force, but the meters showed the same levels.
Here's what's actually happening:
When your kick and bass are out of phase, they're fighting. Energy is being cancelled. The destructive interference is literally deleting parts of your waveform.
When you invert the phase, you're not adding volume. You're stopping the cancellation. You're allowing the full energy of both elements to exist without fighting each other.
The perceived loudness increases because you're no longer losing energy to phase cancellation. You're hearing what was always supposed to be there.
And the best part? You can see it happening in real time.
No more guessing with attack and release times. No more A/B testing compressor settings for 20 minutes. You just watch the waveforms, dial in the ducking amount you want, and hit invert.
Done.
Bonus: Getting Even More Punch (Without Losing Headroom)
Once you've solved the phase issue, there's a second trick I use to make kicks cut through dense mixes even more.
It's GM Audio's Clipper.
The concept: instead of using a limiter (which smooths out peaks to avoid distortion), you use a clipper that deliberately cuts peaks and creates harmonic content.
You're adding saturation, but only at the exact moment of your transient. It's like having an exciter that only processes your peaks.
Here's how I use it:
Load it on your kick/bass group. Drop the ceiling to catch just the highest peaks. Then use the "solo" button to hear exactly what harmonics you're adding.
You want just a little bit of click. Just the transient. Not heavy saturation.
The result? More punch, more presence, and you actually gain headroom because you're controlling the peaks before they hit your limiter.
I even use it on the master channel. Set it to catch just the loudest transients. Your limiter barely has to work, and your mix sounds more dynamic, not less.
The Differences Are Small (Until They Stack): This is a technical topic. The changes are subtle. You might not hear a dramatic difference in a single A/B comparison.
But here's what I've learned over years of mixing: small decisions stack.
You solve your phase issues with proper ducking. You shape your transients with smart clipping. You clean up your low end with EQ. You make informed compression choices. You monitor on good speakers in a treated room.
Each decision is maybe 2-3% better than the alternative.
But thirty of those 2-3% improvements? That's the difference between a mix that sounds good in your bedroom and a mix that translates to club systems, festival PAs, and streaming platforms.
That's the difference between "pretty good" and "professional."
What You Can Do Right Now: Open your latest Techno project. Find a moment where your kick and bassline play together.
Load Ducker on your bass channel. Key it to your kick. Just watch the waveforms for one full bar.
You'll see it immediately.
The phase interactions. The volume inconsistencies. The moments where your kick is fighting instead of punching.
Then dial in your hold and release times while watching what's actually happening. Adjust the amount. Watch the green and white waveforms.
Then hit invert.
Feel the difference.
That's the moment where you stop guessing and start seeing what's really happening in your low end.
Why Visualization Changes Everything: Traditional sidechain compression hides what's happening behind attack, release, ratio, and threshold controls. You're adjusting numbers without seeing the result.
Ducker shows you the actual waveforms. You can see your kick's transient. You can see how long you want the ducking to hold. You can see when your bass comes back in. You can see the phase relationship.
It's not about replacing sidechain compression entirely. It's about understanding what's actually happening so you can make better decisions.
Once you see destructive interference visually, you can't unsee it. You start noticing it everywhere. And fixing it becomes second nature.
The Tools: Both Ducker and Clipper are available from GM Audio. I don't get a commission for mentioning them, just 10% of any sale they make if you use my link. I'm sharing them because they solve real problems in ways that traditional plugins don't.
They're Max for Live devices for Ableton. If you work in Ableton and you struggle with kick and bass relationships, these tools are worth checking out.
If you want visual control over your kick and bass phase relationship: Ducker.
If you want more transient punch without losing headroom: Clipper.
Both have amazing analyzers built in. Both show you what's actually happening instead of hiding it behind "magic" processing.
Try It in Your Next Session: Load up your current project. Find your kick and bass. Add Ducker. Watch what happens.
The first time you see the phase cancellation happening in real time, everything clicks.
You'll understand why your kick was disappearing. You'll understand why sidechain compression helps. You'll understand the why behind the technique.
And once you understand the why, the how becomes obvious.
That's what good tools should do. Show you what's happening, then let you make informed decisions.
The physics of sound won't change. Destructive interference is a law of nature. But now you can see it, understand it, and fix it in seconds instead of guessing for hours.
That's the difference.
By the way, the track I'm working on in the video is for a VA compilation we're doing in the hypnotic heads community. If you want to join, share feedback, and be part of collaborative releases, check out the Discord link in contact on my website.
Have a great week. See you in the next one.