~ $ cat signals/ableton-synths-explained-for-beginners.md
Signals
Ableton Synths Explained: Operator, Wavetable, Granulator
For me the most exciting thing in Ableton Live is sound creation. So in this part of the beginner course we delete the audio channel and work with MIDI. Ableton has different synthesizers that make sound in different ways, and if you don't know the difference, choosing one feels random. I put three next to each other: Operator for FM synthesis, Wavetable, and Granulator for granular synthesis.
In this part:
- What is FM synthesis in Operator
- How to layer oscillators and change waveforms
- What Wavetable does differently
- How granular synthesis works in Granulator
- Grain size, position and spread
- How to record a synth and warp it
What is FM synthesis in Operator?
Operator comes with Ableton Suite. Put it on a MIDI channel, make the track ready to play, and you hear a sine. A sine always sounds the same.
FM gets interesting when you layer the oscillators. Operator has four, and you can see them as A, B, C and D. Click one and the view shows only that oscillator. You can switch each one on or off, change its pitch and bring its volume in.
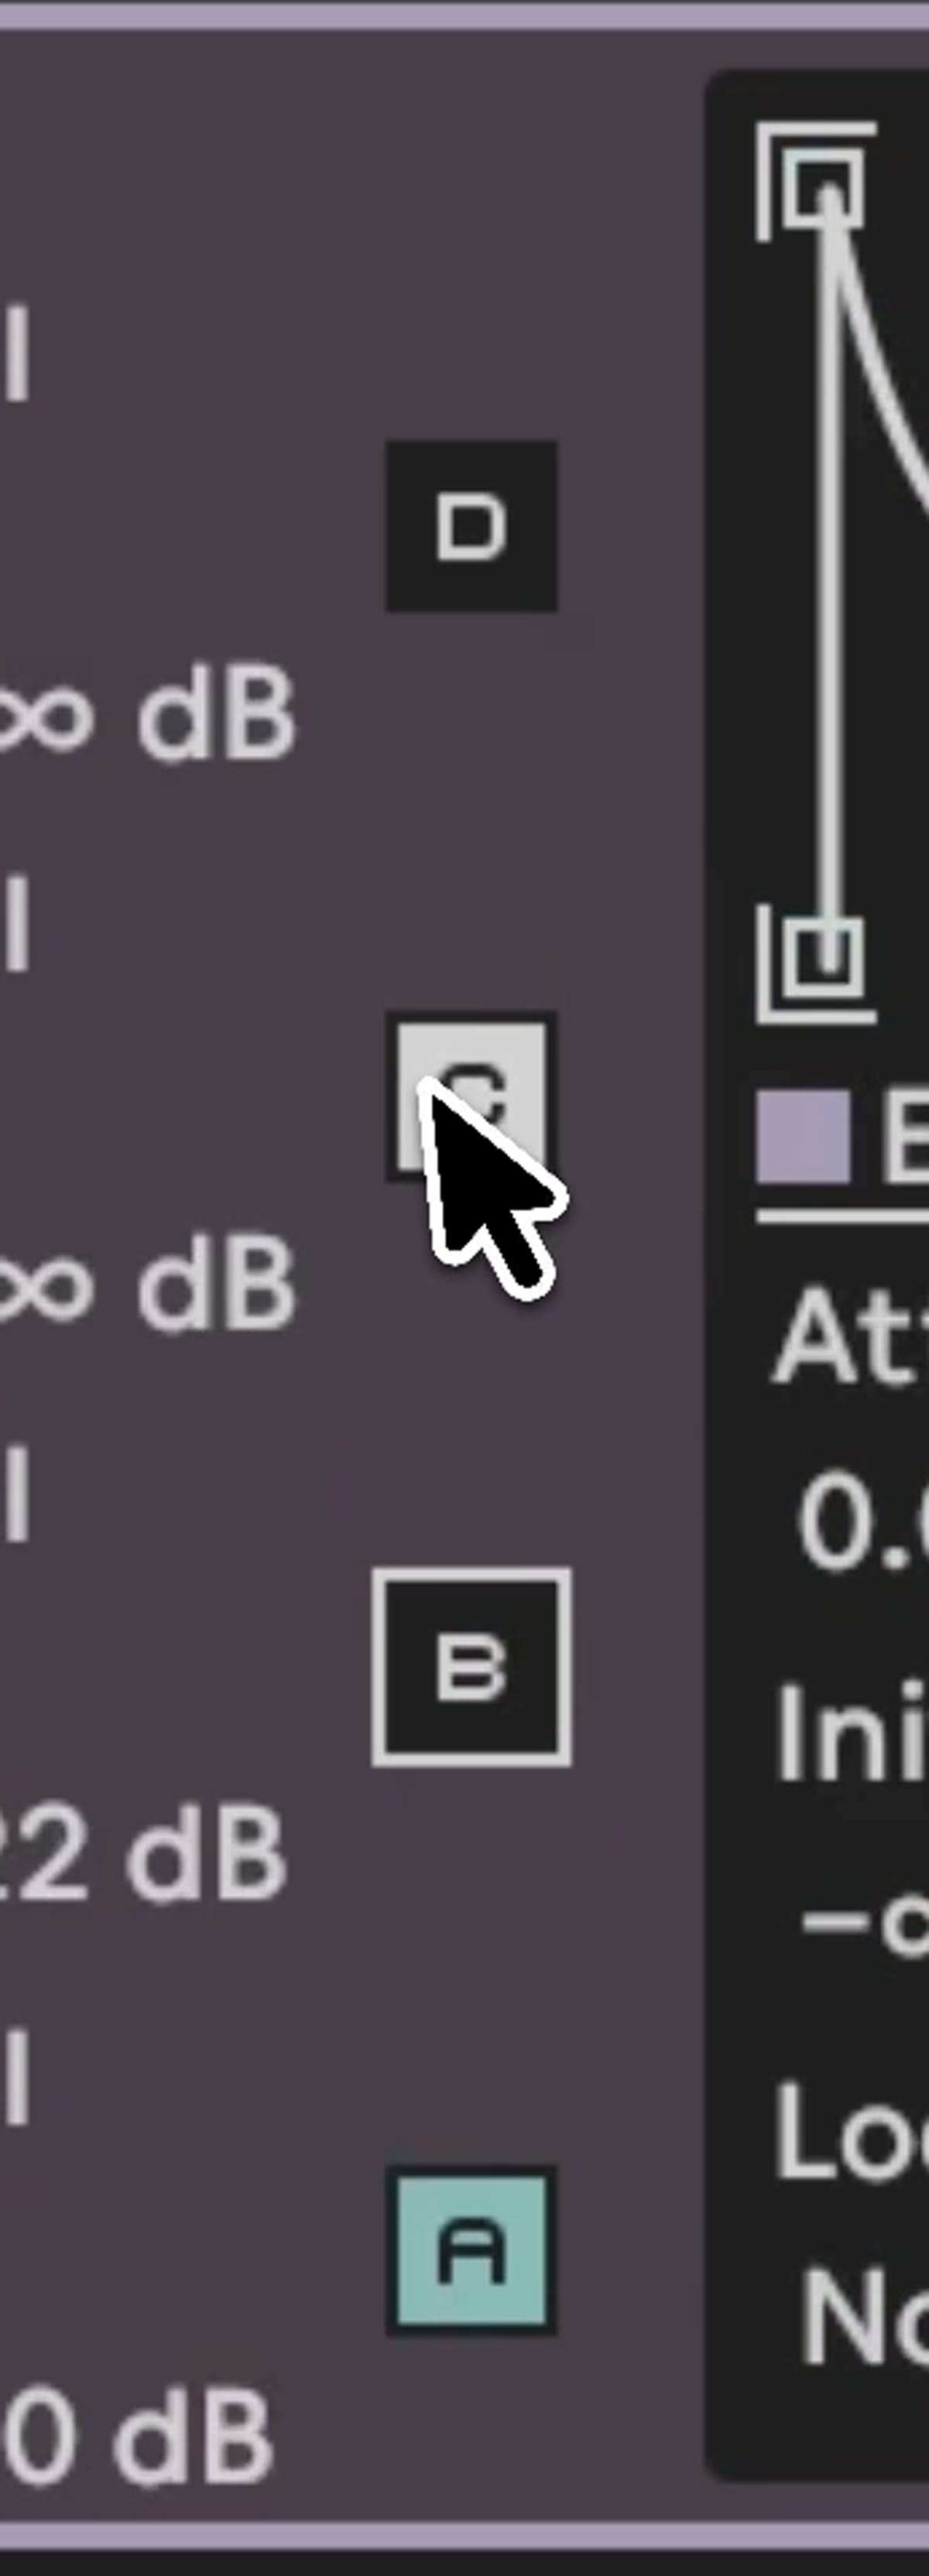
- Let one oscillator play the sub note.
- Let another oscillator make the overtones.
- Change the waveform of the second one. Sine, saw and square sound very different, saw and square way more aggressive.
You can make full sounds with that. It is great for bass music and dubstep, and for techno too. Operator is also really good for bass lines. Subby and nice.
Wavetable: morphing between waveforms
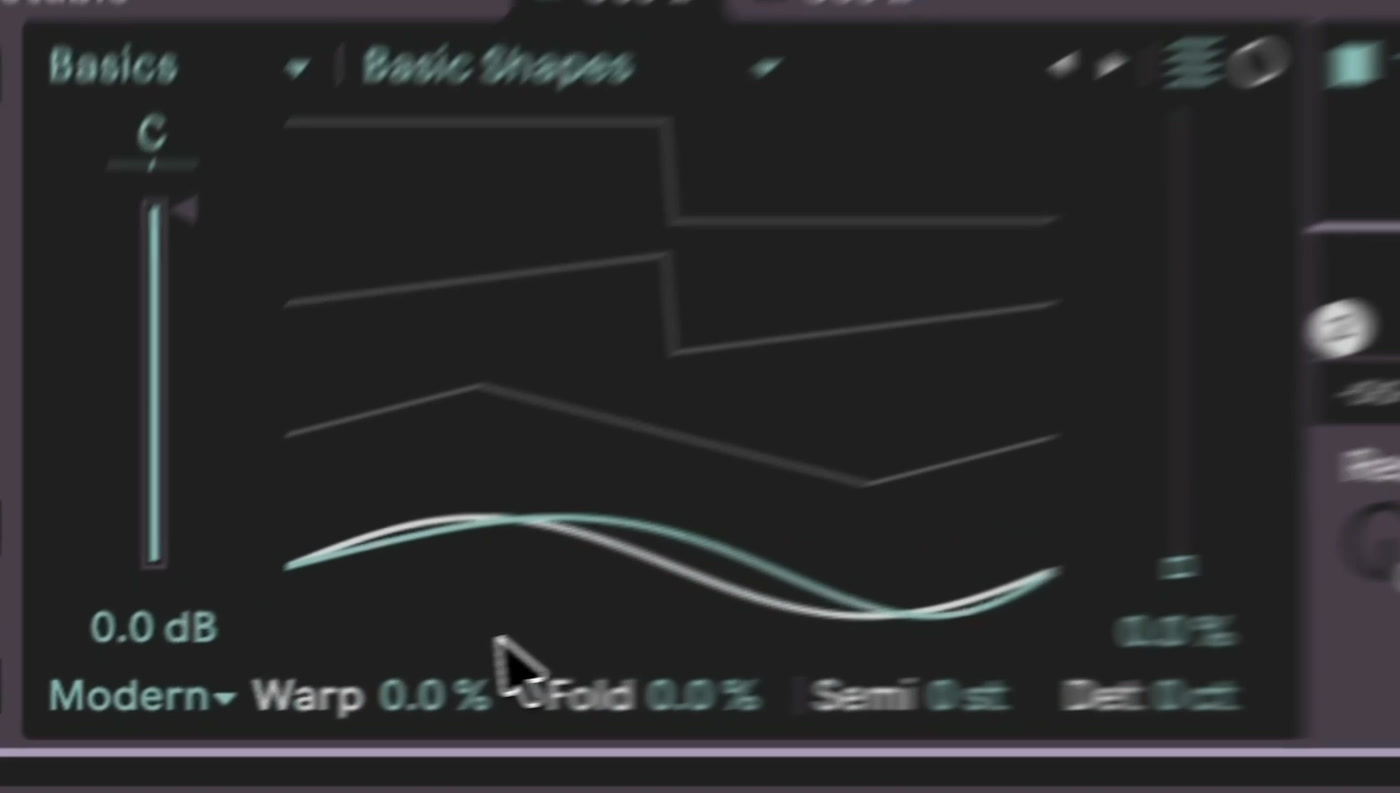
Wavetable is similar, but it morphs between the waveforms. In Operator you pick this one or that one, sine or square. In Wavetable you move between the shapes, and if you automate that, it can sound really good. That makes it even better for dubstep and crazy sound design.
Wavetable has a modulation matrix for this. That is complex stuff, we do it way later in the course, but you should know it is possible. In the video I map a random value that changes with every note onto the oscillator warp. Then I put a sequencer in front that plays random steps, and every note sounds a bit different. Don't think too much about that sequencer yet. This is how you make movement in your sounds. Modulation, in the end.
How does granular synthesis work?
Put the same sequencer on Granulator and you see notes coming in, but nothing plays. Granular synthesis needs a sound first. So I recorded myself talking for a few seconds and dropped that sample inside.
Now you have the position, where in the sample it plays, and the grain size, and that is the big thing.
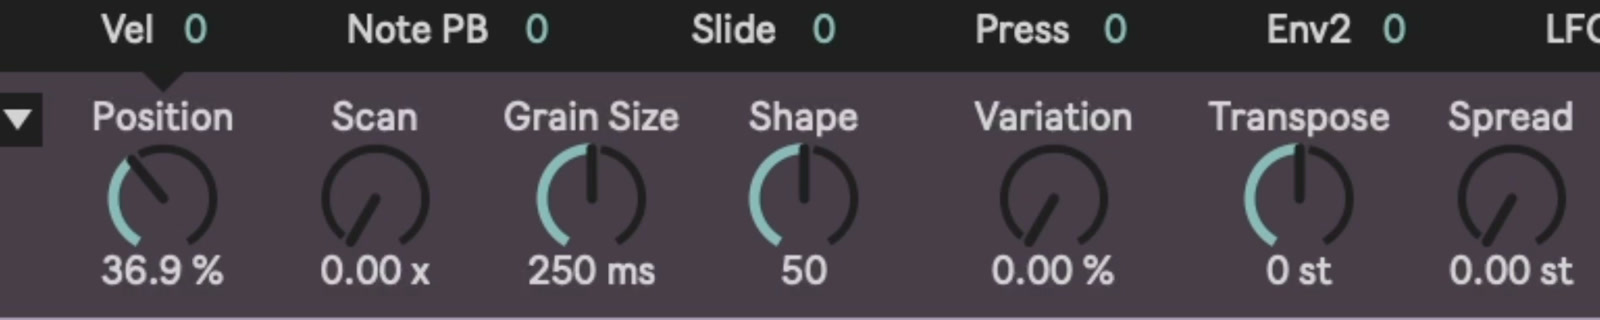
- Big grain size: the range it plays gets bigger. It is kind of like a looper.
- Very small grain size: it plays the sound back so fast that you can't hear anymore what it was. It becomes one note and starts to oscillate.
Once something oscillates, it works like the oscillators in Operator or Wavetable. You can play it, and you can even play chords. In the video I go down to around 32 milliseconds and then even shorter, until I find a sweet spot.
Movement with an LFO
An LFO is a movement you can put on any knob in Ableton. We talk about it later. I put one on the position and make it move very slowly. Now the sound morphs and finds new waveforms. It is like moving through a wavetable, but based on the sound you put in.
You can change the notes in the sequencer, for example with transpose, or on Granulator itself. Spread pushes the sound to the sides, so on headphones you hear it more left or right. After a few moves you already get very abstract sounds.
Bring it back to warping
Remember you can always record a synth on an audio channel. So I record Granulator, take a small loop of that recording, and use what we learned in Part 3: Warping: Texture mode, grain size, stretch it double. Now we have textures.
What to try now
Put Operator, Wavetable and Granulator on three MIDI channels. On Operator, layer a second oscillator and change its waveform. Load a short recording of your own voice into Granulator and bring the grain size down until it turns into a note. Then record the result onto an audio channel and warp it.
Previous: Part 3: Warping. Next: Part 5: Designing sounds.