~ $ cat signals/ableton-reverb-and-delay-for-beginners.md
Signals
Ableton Reverb and Delay for Beginners: Return Tracks
You can always open a reverb in Ableton Live and find the presets. But I recommend you really learn the basics before you explore the presets, especially as a beginner. So we go through Reverb, Delay and Phaser-Flanger, and then return tracks.
In this part:
- Which reverb to use: convolution, Hybrid Reverb or the classic Reverb
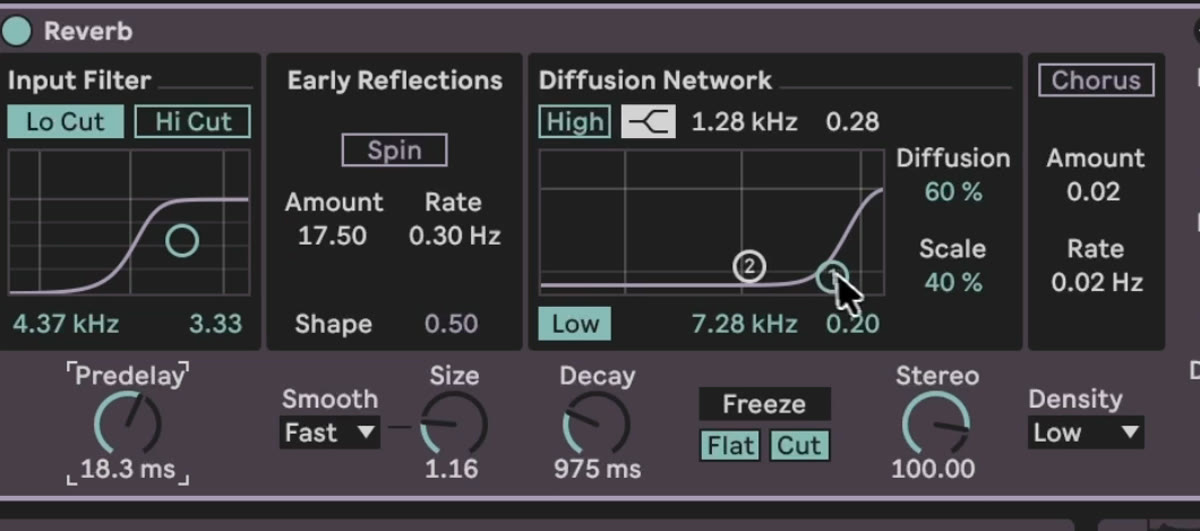
- What decay, size and pre-delay do
- How to filter what goes into a reverb
- How delay, feedback and ping pong work
- What Phaser-Flanger does to the stereo image
- What a return track does and why it saves CPU
Which reverb?
Convolution reverbs record the response of a real room, for example a church here in Berlin, and put some math on top. Then your sound sounds like it is in that church. The pro version has a bit higher quality but takes more CPU. The normal one is absolutely enough.
Hybrid Reverb is my favorite, because it mixes convolution and a classic reverb. For the beginning I would go for the classic Reverb.
Dry/wet, decay and size
Reverb and delay really live from dry/wet. If you reset Reverb, it comes on 55%, not 100%. At 100% you only hear the response, not what you put in. For sound designing the reverb that is quite cool, because you hear what you are doing.
Put the decay up, stop playing, and it keeps going. At 24.3 seconds it turns into a drone. That way you can make drones and pads.
Then size and decay together:
- Size super small, decay a bit up: almost like a feedback delay.
- Size super up: a huge room, like a black hole.
- Small: a small room, so close it is almost breathing in your face. Or far away, down the rabbit hole.
Filter, pre-delay and the rest
You can filter what the reverb works on. If you don't want reverb on the bass frequencies, let just the highs in. That makes a big difference. Finding the sweet spot between size, decay and filter is very important for sound design.
The diffusion network is also kind of a filter, but more for the engine of the reverb. The rest you can ignore for now.
What I think you should learn is the pre-delay. With no pre-delay, the reverb comes directly after the sound. With a high pre-delay you hear the impact first and the reverb a bit later. Like seeing an explosion down in the valley while you are up in the mountains, and hearing it a little later.
How does delay work in Ableton?
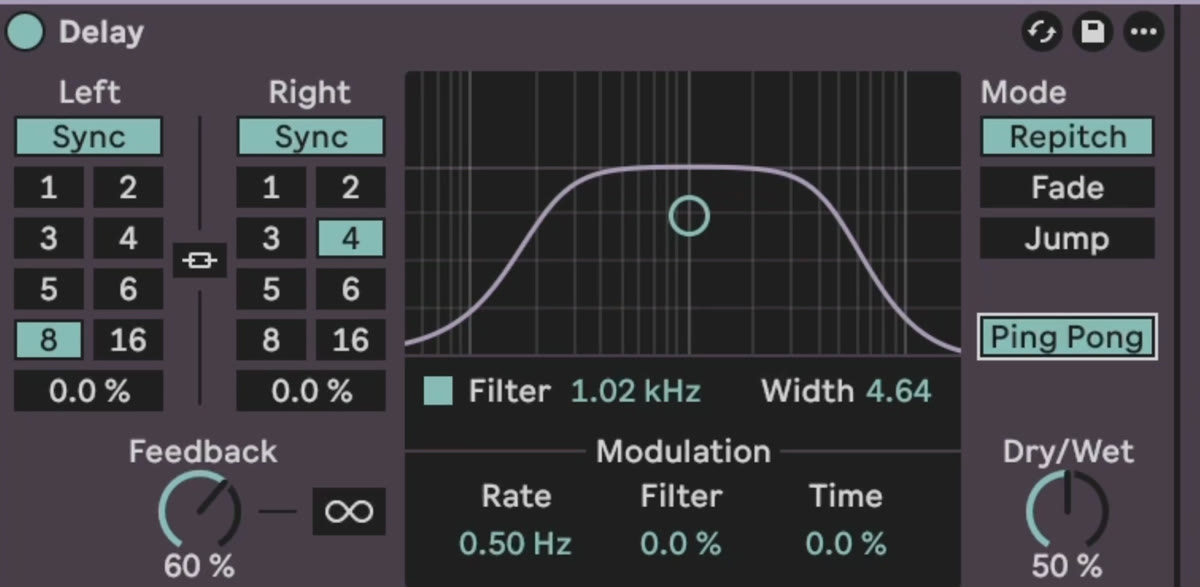
Delay has a left and a right channel. When they are linked and I set one to 4, the other goes to 4 too. Feedback says how long the delay goes on. It can go to 95, which is super long, so maybe try 60. Unlink them and left and right get separated. Ping Pong moves the delay between left and right. Set 3 and 5 and you get something polymetric going on.
Phaser-Flanger
This is the underrated sound design trick I know. I put it before the reverb and the delay. It can make that classic Tame Impala sound, and you can switch to flanger or a Doppler mode. It turns a static sound into a lot of movement in the stereo image. If you don't like the sound, lower the feedback and you still keep the stereo effect.
Spread splits it between low end and highs, and center sets where in the frequency range it sits. Notches are how many of them you have. A lot of notches and a lot of feedback, around 70%, and it starts to resonate almost like a synthesizer.
What does a return track do?
If you want reverb on several channels, I highly recommend return tracks, the third channel type from Part 1: The interface. Right click in your session and insert a return track. Reverb and delay work really well there. The return is 100% wet, and with the send knob on each channel you decide how much goes in. It is kind of like a dry/wet knob per channel.
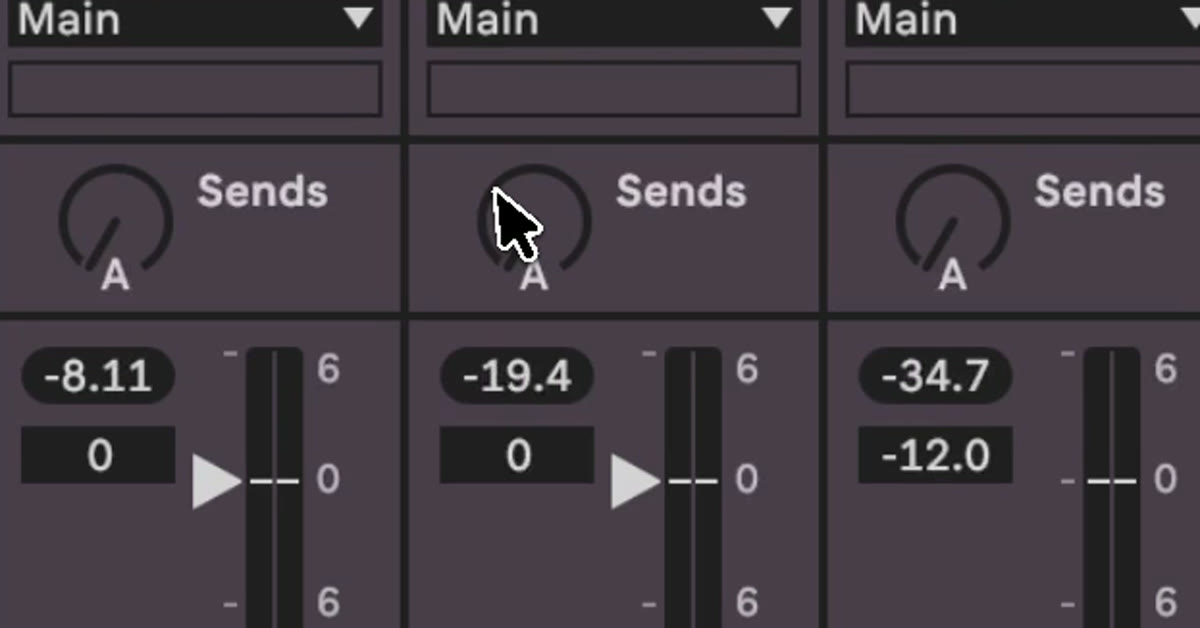
This is great for dub mixing and live acts. With the reverb on a return, you pull a channel's fader down and the reverb keeps playing. With the reverb on the channel itself, it is just off. Mixing gets easier too: a little on the cymbal, less on the kick. And reverb is CPU hungry, so one reverb for all channels is way more efficient.
Echo and feedback
Echo is more for dub techno. Take care with its feedback. It can go higher than 100%, and then it goes on until it is really, really loud.
Your homework
Before you watch the next video, try some of the effects, put them in and really check what they do. First, put a Limiter on your master. When you try feedback and random effects, it holds back the peaks. For safety, for your ears.
Want feedback on your first tracks? Written feedback, calls and mentorship: https://mordio.online/teaching
Previous: Part 6: Filters, EQ and drive. Next: Part 8: MIDI effects.