~ $ cat signals/ableton-browser-for-beginners.md
Signals
Ableton Browser for Beginners: Instruments and Effects
Sounds, drums, instruments, effects, Max for Live, plugins, clips, samples: the Ableton Live browser has a lot of folders when you start as a beginner. Here is what is in there, what I use, and what I would leave alone for now.
In this part:
- Which Ableton version and packs I use
- The difference between instruments, audio effects and MIDI effects
- What modulators do and how to map them
- Max for Live vs plugins
- Clips, samples and templates
- Shortcuts that keep your session clean
Sounds and drums
I work with Ableton Suite and I recommend it, because the synthesizers are really good. I still use Ableton's internal stuff today, and I have been making music for over 15 years. There are fancy plugins out there. I would not go deep into them until you are a few years in and really miss one device that Ableton doesn't have.
Don't go to Sounds for now. It is preset paradise, and you get lost there. Jam with it if you want, but rely more on the raw sound, so you become a good sound designer in the end.
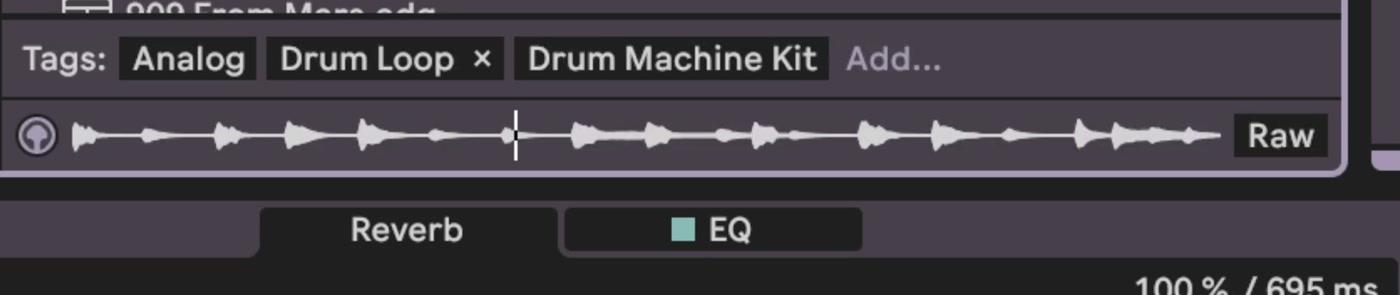
The drums I like. They give you the standards you need to know. The 909 Core Kit has all the drums you need if you want to make techno. You can pre-listen everything in the browser, switch the preview off if you just want to click around, and drag and drop or double click to load.
Instruments, audio effects and MIDI effects
Instruments are devices that make sound. They are the raw form of making music. Drums make sound too, but they are mainly percussion.
Audio effects go behind synthesizers or on audio samples. There are many of them, and we go through them in Part 6: Filters, EQ and drive.
MIDI effects only change the notes you send. Chord is a good example: put it in front of a synth, play one note, and you get the full chord. A MIDI effect makes no sound by itself. For that you need a synthesizer on a MIDI channel.
What do modulators do?
Modulators move based on time or a synced value, and you can give them different shapes. You map them to something. Click map, click a fader, and that fader starts moving on its own. It is a movement you would otherwise have to do with your mouse.
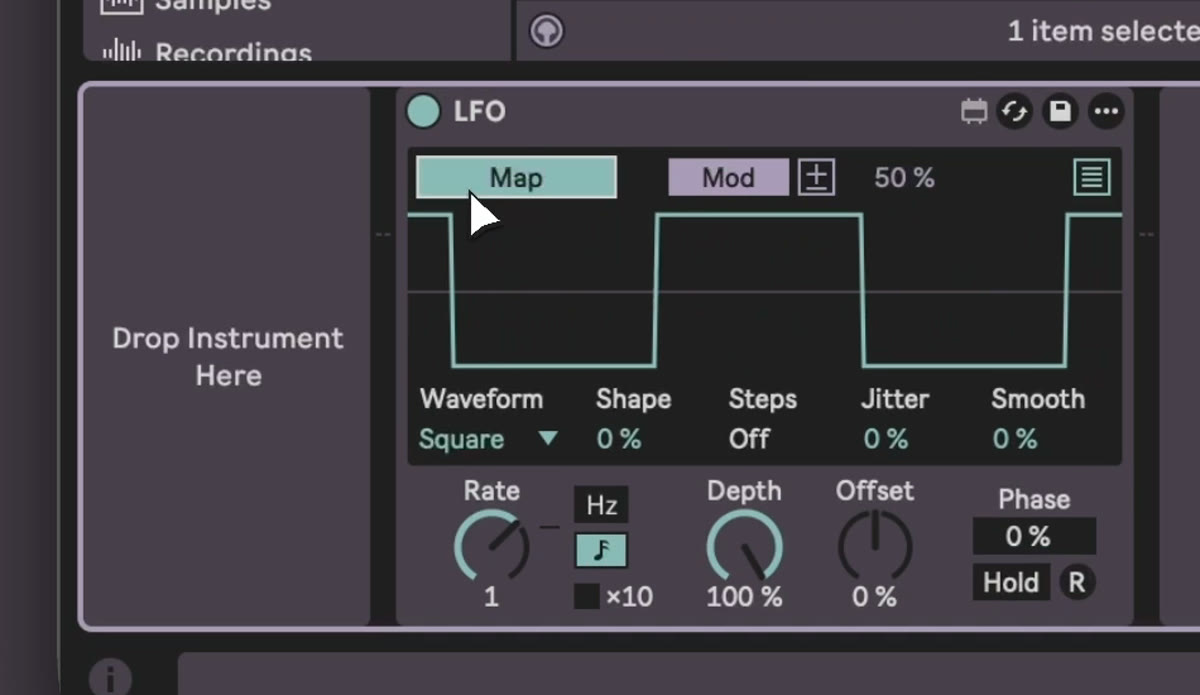
Don't be scared. Map things on a synth and figure it out. If it makes a terrible sound, hit the spacebar and remove the last mapping.
Max for Live or plugins: what is the difference?
Max for Live is like the modding scene for Ableton. Some devices are polished. Some are made by a random person in their garage, given away for free, and your computer starts dying. A lot already comes with Ableton. Try some out, but don't rely only on Max for Live devices.
Plugins are external software running inside Live. The difference: a Max for Live device stays in the device area and looks like Ableton, and if it is programmed well it even takes the colors of your theme. A plugin never takes your colors and is always an extra window you have to deal with. I prefer Max for Live devices, but decide on your own.
Clips, samples and templates
Clips give you a device plus the MIDI notes. Drop a few in and everything plays in sync. It is a preset party. I would rather use synthesizers, put audio effects after them, MIDI effects in front, and modulate. Then maybe some drums on top.
Samples are all the samples you have. At the very bottom of the browser you can add a folder, for example your own recordings from a holiday. Samples go on audio channels or into samplers. Grooves and tuning systems I would leave for later.
Templates are a starting setup for a full session. Cmd+N starts a new session, and in my case that opens my template. The techno template I mention in the video is a system that keeps evolving on its own, every sound built in Operator: https://mordio.online/shop/running-system-iii
Small things that help
-
Cmd+R renames a selected track. Right click changes its color.
-
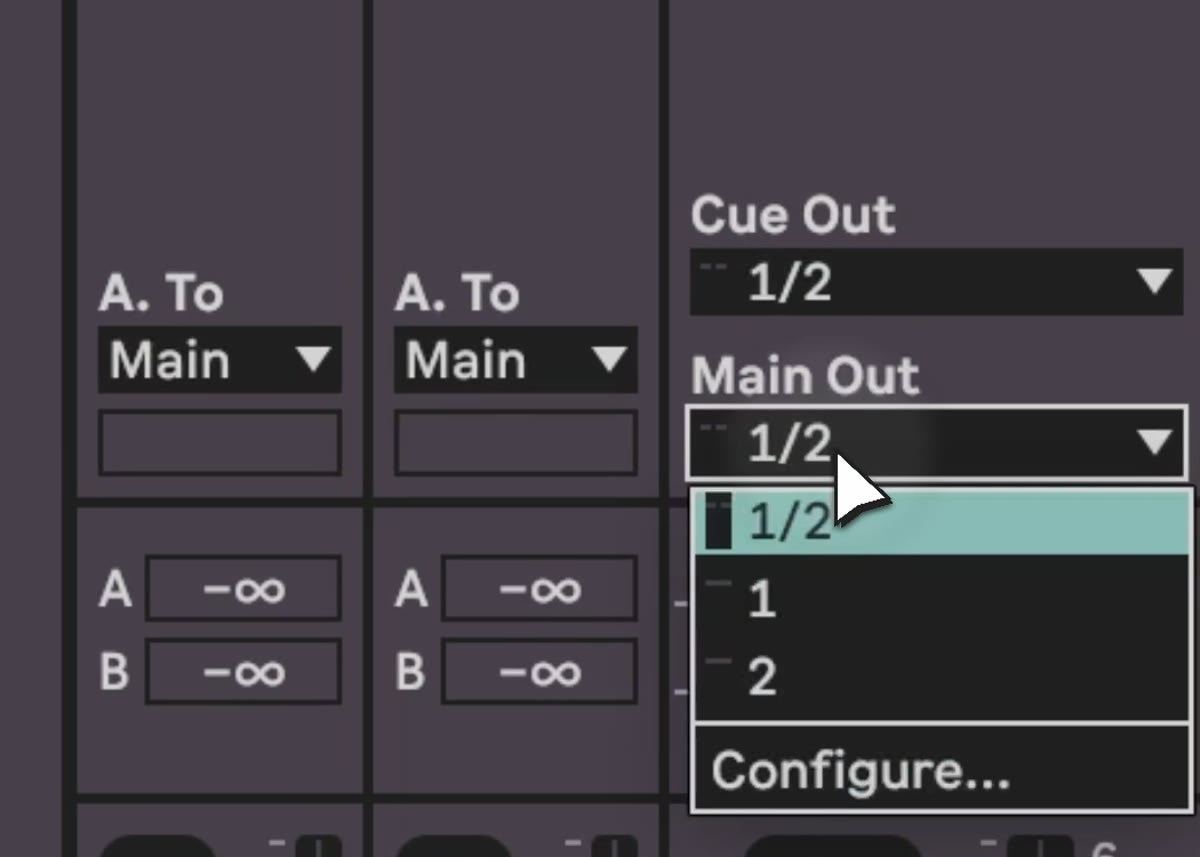
If pre-listening is too loud, turn down the cue out.
-
Mute a channel with its button, and use solo to hear one sound separate, then all together.
-
Shift+Tab opens and closes the detail view of a clip.
-
Cmd+D duplicates.
Your homework
Before you watch the next part, take everything from this one and build some clips. Make around 8 channels, put samples and loops inside, use one Drum Rack for some drums, and put audio effects on it. Doing is more important than just watching me tell you what to do. When you have a loop you like, go to the next video.
Previous: Part 1: The interface. Next: Part 3: Warping.