When you open Ableton Live for the first time, there are so many numbers and buttons. I was confused too. But most of it is stuff you will need later, so this first part of my free beginner course goes through the Ableton Live interface step by step. For now we keep it super simple.
In this part:
- Ableton Live audio settings and how to pick your interface
- How to change the theme and colors
- Audio tracks vs MIDI tracks
- What Session View and Arrangement View are for
- What a return track does
- The top bar: global key, quantization, metronome, tempo and Ableton Link
First settings in Ableton Live
First thing: press Cmd+comma (Ctrl+comma on Windows) or open the settings from the menu.
- Check your audio interface. If you are on headphones, select your headphones. If nothing is selected, you have no audio.
- Pick an input if you want to record, for example your mic.
- Leave the rest on the standard settings for now. Then go to Theme and Colors and choose what you like. You can change the intensity, make it darker, shift the tint.
This is the place you will work in for the next years if you stick to it, so make it comfy. Mine is violet, I coded myself a theme. The theme I use in this video is free, three themes in one pack: https://mordio.online/shop/ableton-themes-essentials
Clean up the browser
The browser is your best friend. It is where you grab things and drop them into your tracks. Switch off what you don't need in the beginning, like grooves. You have your places and custom folders, and the library with instruments, effects, MIDI effects and samples. A lot of fun incoming, but for now: clean it up.
Audio tracks vs MIDI tracks
There are two languages in our little production world: audio and MIDI.
Audio is a sample or something you recorded, and it plays back from a clip. Select a clip and press Shift+Tab to look inside and see the sample you are playing back. MIDI is more like a synthesizer. It is not a sample, it is a machine you can play.
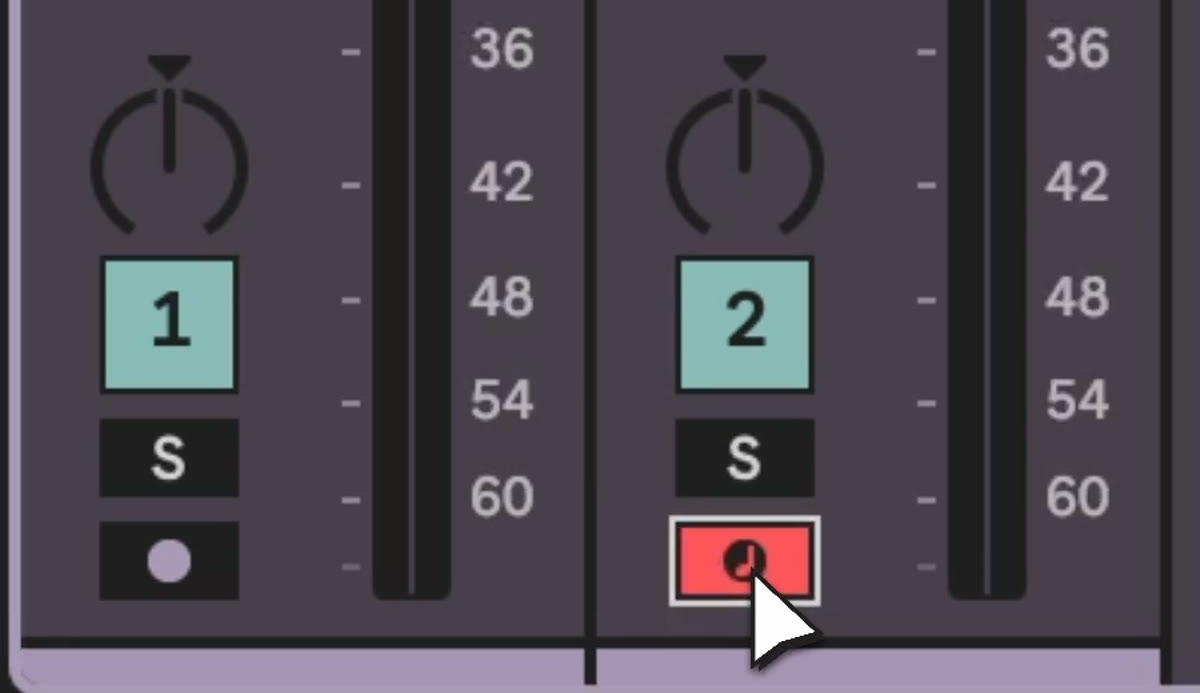
The button that turns red makes a track hot. On an audio track you do that to record. On a MIDI track it lets you play the synth. If you don't have a MIDI keyboard, check that playing with your computer keyboard is switched on in the top bar.
What is Session View?
Session View is where you drop your channels, your stems: kick, hi-hats, some synths. You play your clips, jam with them and record later.
I also clean up the mixer. In the bottom right corner you can switch parts of it on and off. I take away the ins and outs and keep the sends and volumes. Performance impact shows the CPU per channel. Only switch it on if your CPU goes super high.
Effects sit in a row in the device area at the bottom. An audio effect like a phaser can't go in front of a synth, only after it. Everything ends in the master, the sum of all channels. If the meter gets red, it is too hot, so turn it down.
Arrangement View and return tracks
Press Tab and you are in the Arrangement View, the view most people know from other DAWs. Session View is the first state where you sound design and loop. The arrangement is where you finish the track and bounce it.
Next to audio and MIDI there is a third channel type: the return track. Right click to insert tracks, or use Cmd+T for audio and Cmd+Shift+T for MIDI. Learn shortcuts, you get faster. A return track is a channel you send to. I send a sound into a reverb there and hear the sound plus the reverb. Putting the same reverb straight on the channel is almost the same, but then it runs at 100% and the dry signal is gone. You change that with dry/wet, which you will find on many devices. We come back to return tracks in Part 7: Reverb, delay and sends.
What is in the top bar?
You don't have to know all of it now. What matters:

- Global key: set your key, for example G minor, and devices with the little key button follow it.
- Quantization: a clip waits for the next bar before it starts. Keep it on one bar while you get used to it.
- Metronome: switch it on to record in sync.
- Time signature: most electronic music is 4/4. Keep it there for now.

Tap your BPM in if you already know the groove. Commit to a tempo at the start, because audio sounds different if you change it later. Ableton Link syncs Live with apps on the same network, like a synth app on an iPad.
What to try now
Open your settings, check your audio, and make Live look the way you like. Clean up the browser and the mixer. Set quantization to one bar, keep 4/4, and pick your BPM before you start.
This series was recorded last winter, so yes, that is an older Live version, and I haven't figured out time travel yet. The full free course is here: https://www.youtube.com/playlist?list=PLVaCvJOc_A9E
Next: Part 2: The browser.